How I Make My Notepad Holders


I love making notepad holders. They are quite easy to make but turn a boring notepad into a beautiful piece of stationery to enhance any desk.
I start with 1500 micron greyboard cut down to size depending on the size of notepad I will fit in. A6 notepads are usually my preferred size to make but I will sometimes go to A5 or DL. I have a couple of DL size in the shop at the moment although most of my latest makes are A6.

Notepad Holder (DL) - Flower Jar 
Notepad Holder (DL) - Dragonfly
I then cover the greyboard with black, white or cream 220 to 250 gsm card. This provides a base layer that is sturdy and ready to take any style of paper or card for the cover design. I have found 220 gsm card is the optimal thickness to wrap around the greyboard - it is easy to fold while not too thin that it tears too easily, although I do have the occasional mishap where I am too heavy-handed so have to make repairs or even start again. Those are painful moments!
I usually know the paper collection I want to use before I start making the notepad holder but the fun part is choosing the exact papers for the cover design. This can often be fiddly to get the exact image I want to show on any particular section or to ensure there is a cohesive flow around the whole cover. Get it wrong and I have potentially cut up the only page I have of that design so would have to start picking papers all over again!

I also need to decide on the type of closure around this stage in the process. If I want to use magnets or ribbon, I will need to position these before I lay down the paper. Quite often though I like making belly band closures as these are easy to make, can be added at the end and provide an added design element while being easy to use.

I also sometimes add a pen holder on the inside. It provides a handy storage place and isn't too difficult to make, provided I know I want to do this before gluing down the papers. I usually add my pen holder to the inside spine by using a short length of ribbon and gluing it under the papers. However, there is the option to add it to the middle of the edge of the back cover too.

Once all the papers except the inside back cover are glued into place, I then need to add the band for the notepad to slot into. This is very easily done by cutting a strip of card about 2 inches wide and 8 inches long. I then wrap it under the notepad's pages and fold to the back of the pad so I know it is the exact size required for the notepad I will be using. I can then glue it into position and slide the patterned paper on top. Depending on the size of the notepad and notepad holder, I do sometimes glue the band on top of the patterned paper and add another strip of patterned paper to decorate it. It depends on the aesthetics of the design but also if I remember to put the band in before I have glued all the papers down!
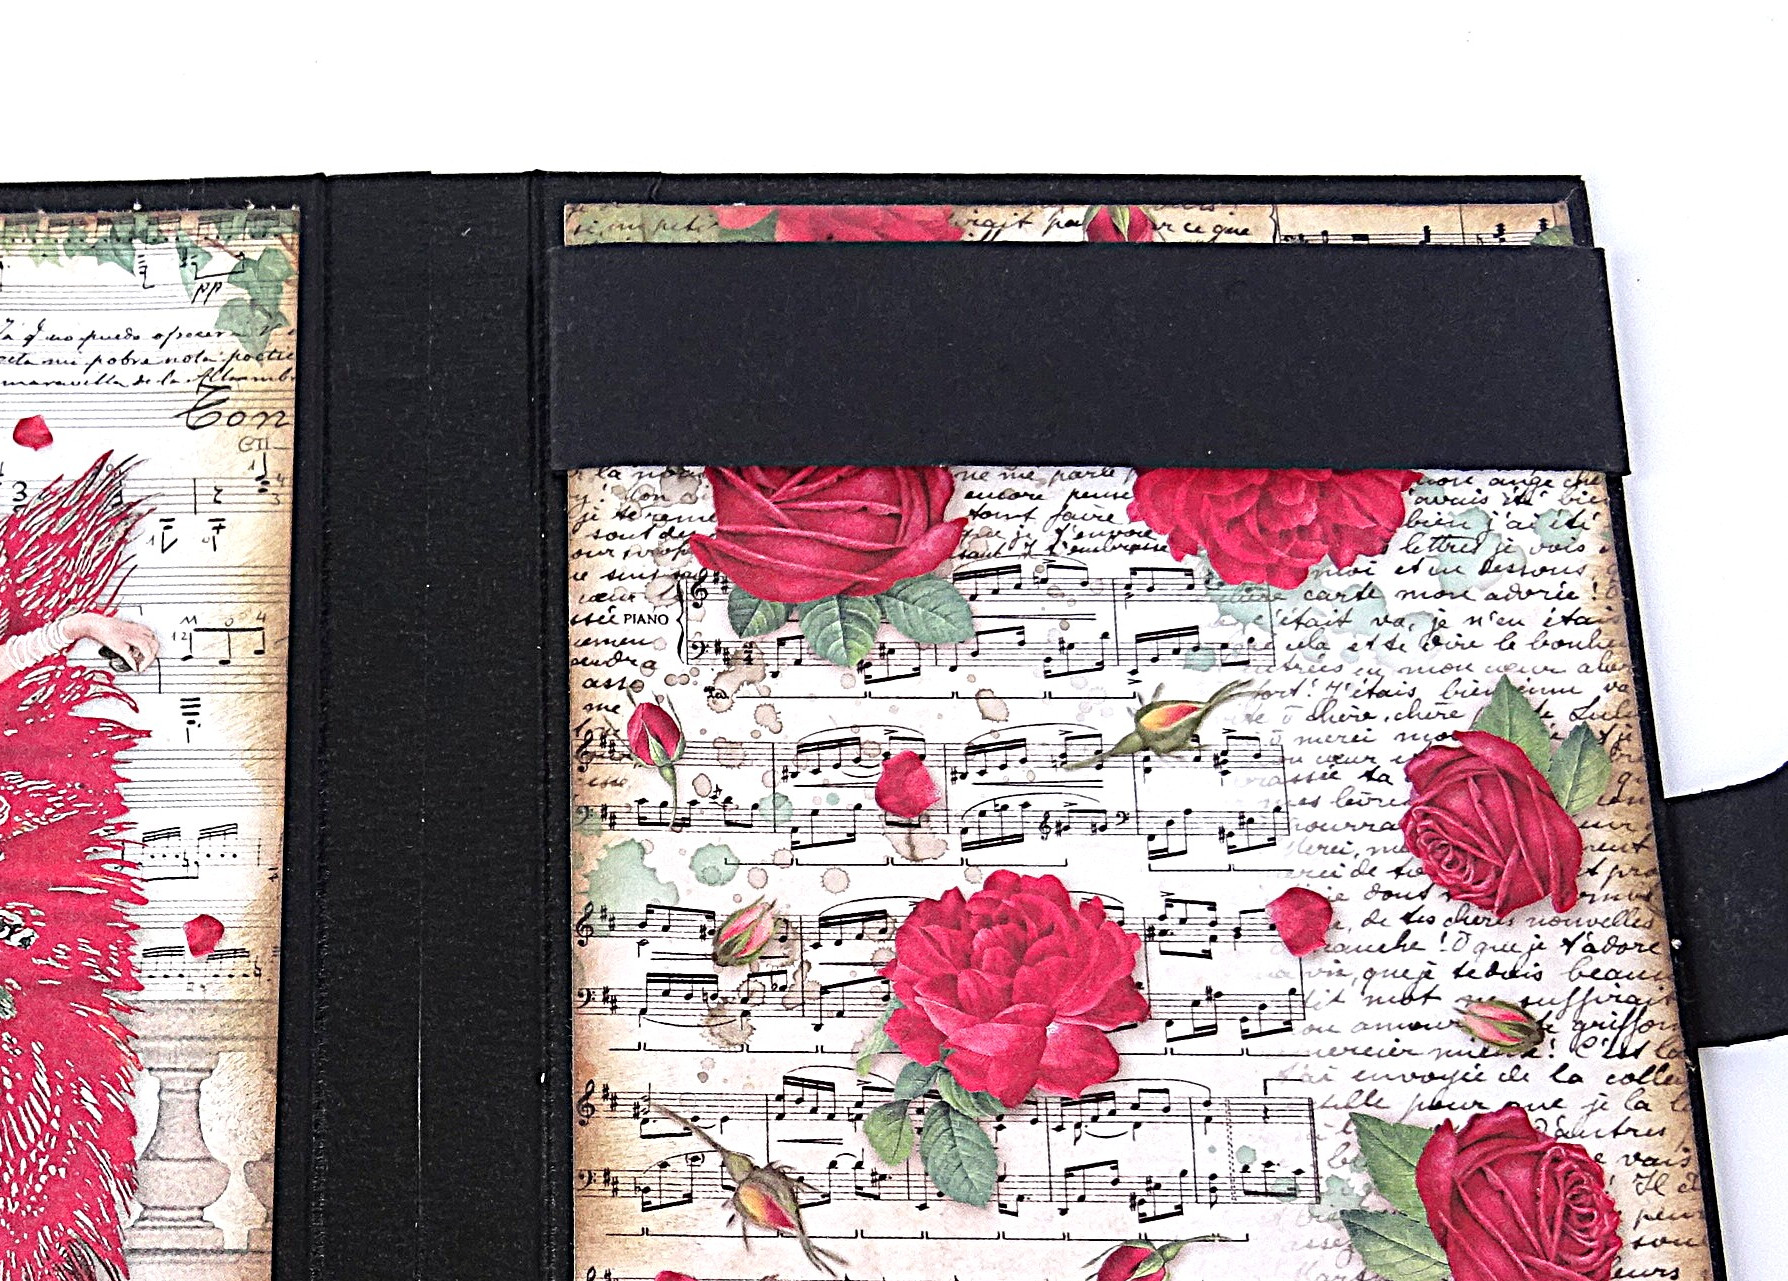
And voila, I now have a beautiful notepad holder that I can keep my notepads in to stop them getting messed up and looks good in my handbag or on my desk.
Notebook with wildflowers on front and elastic band closure. 
Notepad holder with sunflowers and belly band closure 
Notepad holder with Carmen design on front and hook & loop closure Notepad holder with design of flowers in a jar. Notepad holder with design of flowers and dragonfly.
I hope you found my process of making notepad holders interesting and will have a look at the notebooks and notepads on offer in the store.
🤗💙


Comments